
FREE AI ARCHITECTURAL RENDERING

3D Architectural Rendering from Model Screenshots

Turn your existing 3D building model screenshot into a realistic architectural render with AI. Start with a view from SketchUp, Rhino, Revit, Blender, or another modeling workspace, then choose how closely to follow your design, preserve or develop materials, and set lighting and surroundings. Try the workflow with available free credits—no native 3D model upload required.

Free to TryModel Screenshot InputMaterial & Lighting Controls
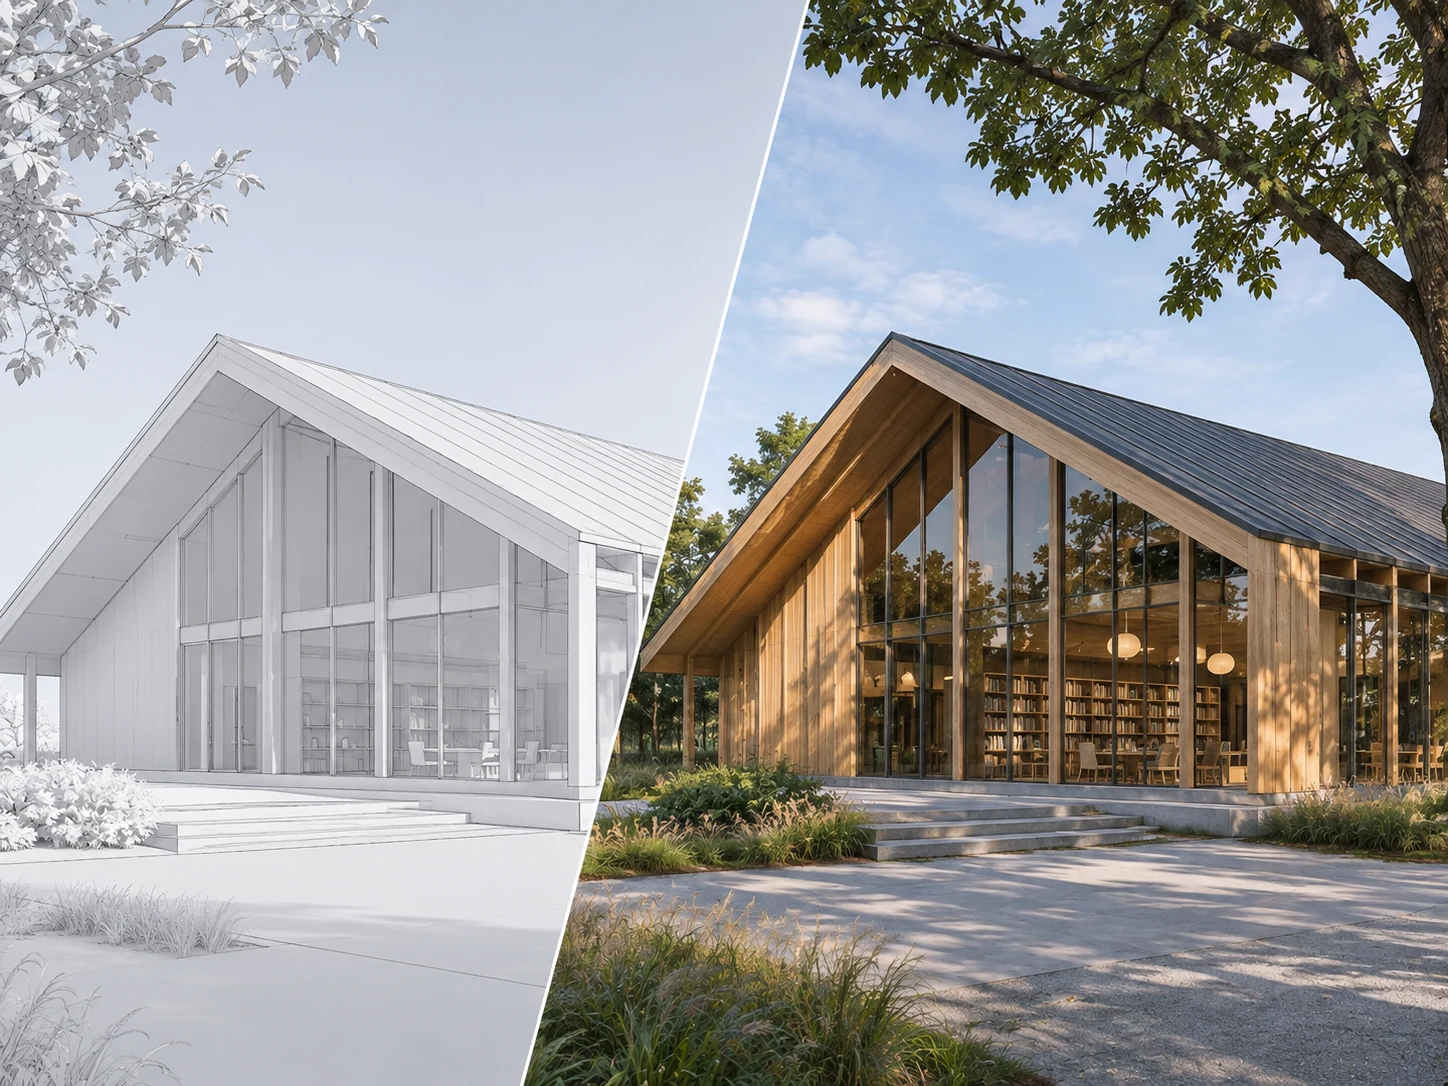
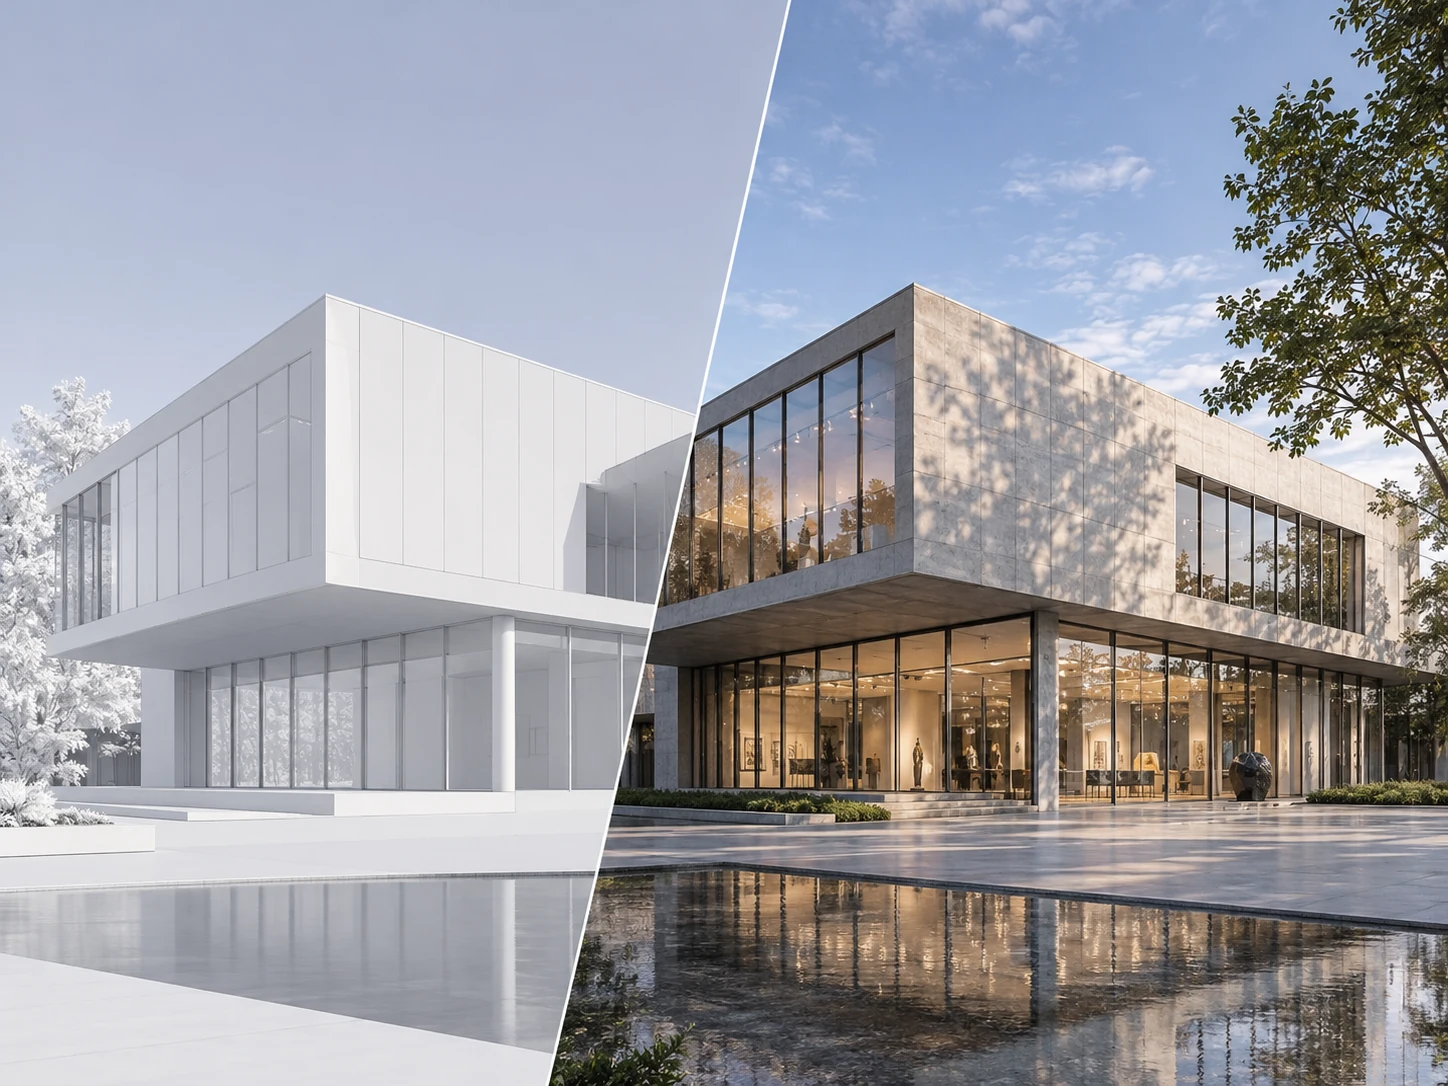
Before-and-after view of the same architectural building model, showing a basic 3D model screenshot transformed into a realistic exterior rendering from a matching camera angle.
AI ARCHITECTURAL RENDERING EXAMPLES

See AI Architectural Rendering Examples from 3D Models

See how architectural white models, textured SketchUp views, Rhino concepts, and Revit building screenshots become realistic exterior renders. Each before-and-after example uses the same building and camera view, so the transformation is clear.

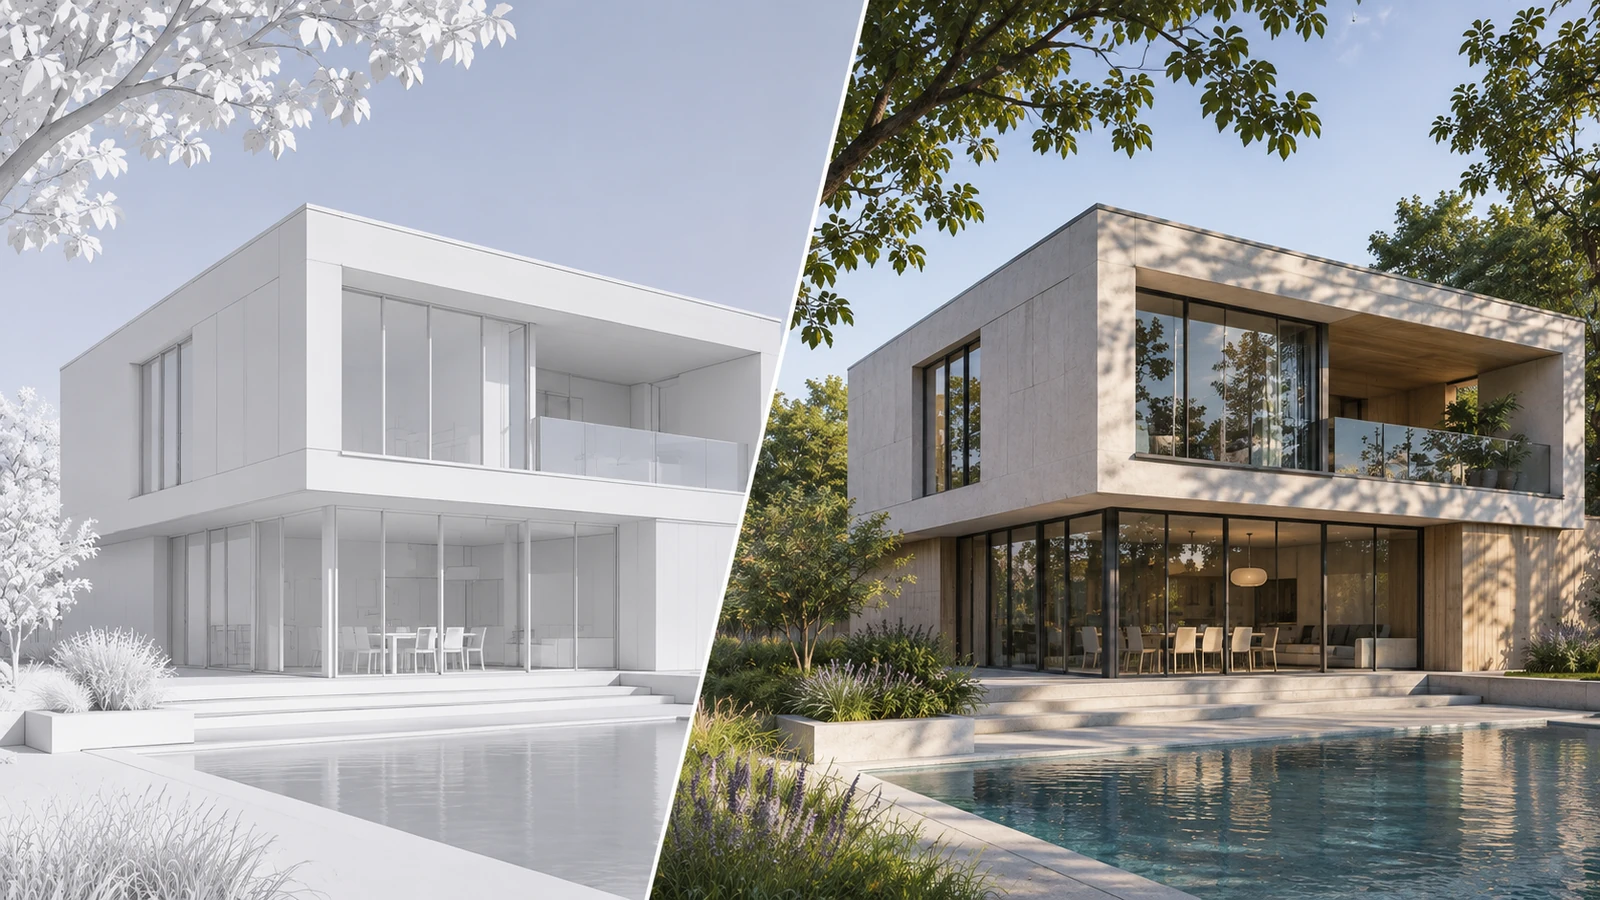
Before-and-after comparison of the same white architectural 3D building model and a realistic exterior rendering with materials, glazing, and daylight.

Turn a White 3D Model into a Realistic Building Render

Start with a white or clay-style building model screenshot and create a photorealistic exterior image with developed façade finishes, glazing, daylight, and context. Auto Materials makes white-model-to-render workflows useful before detailed materials have been assigned.
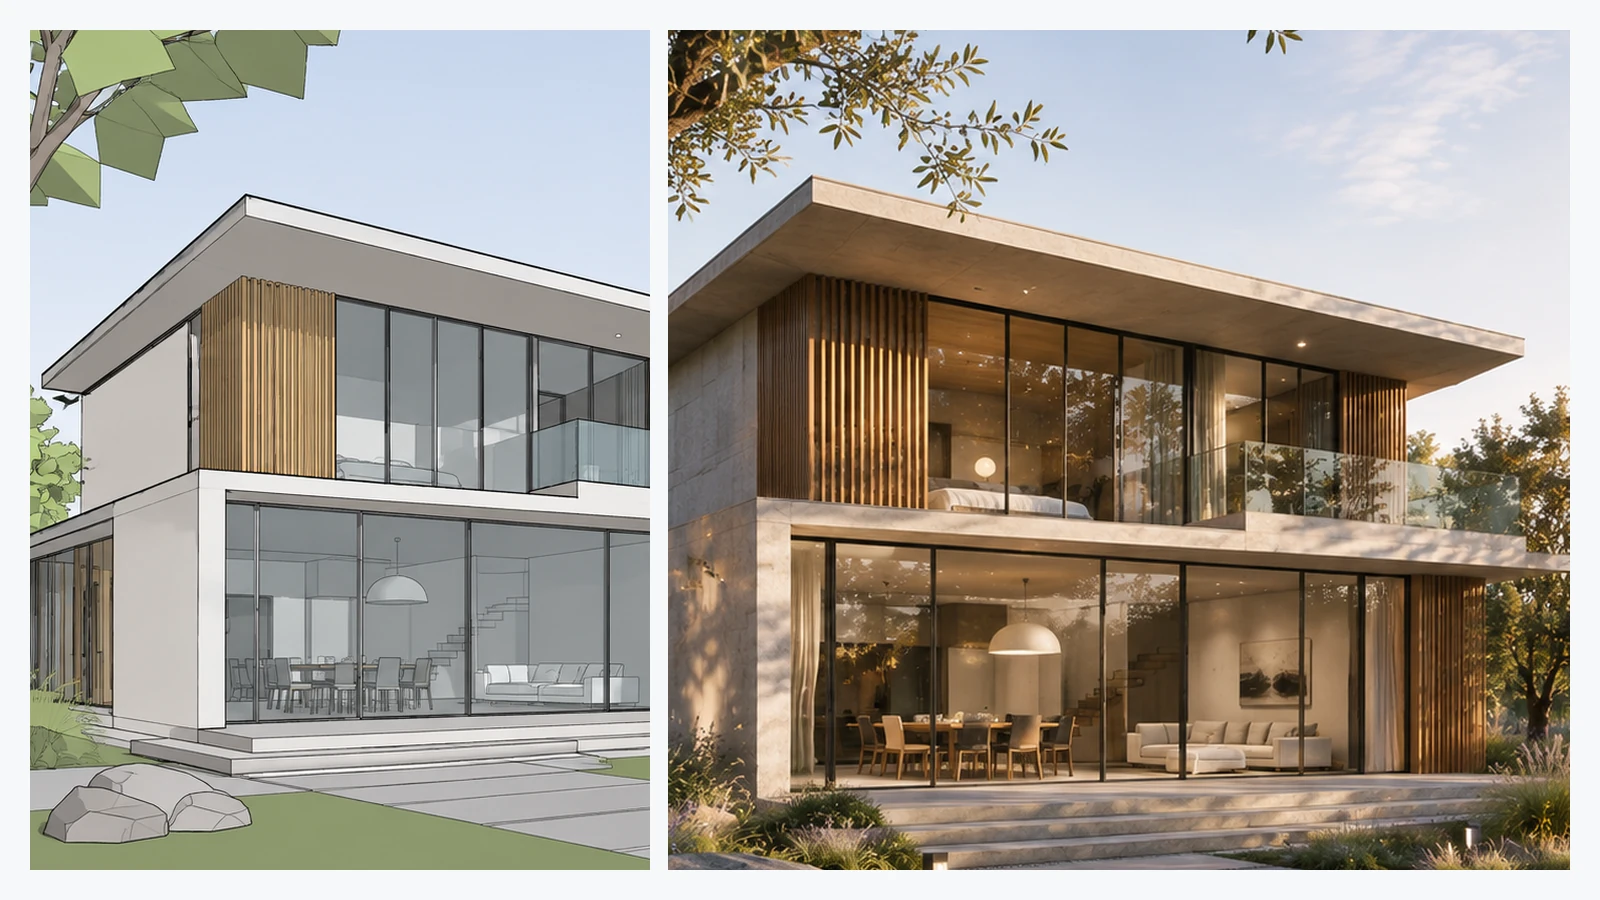
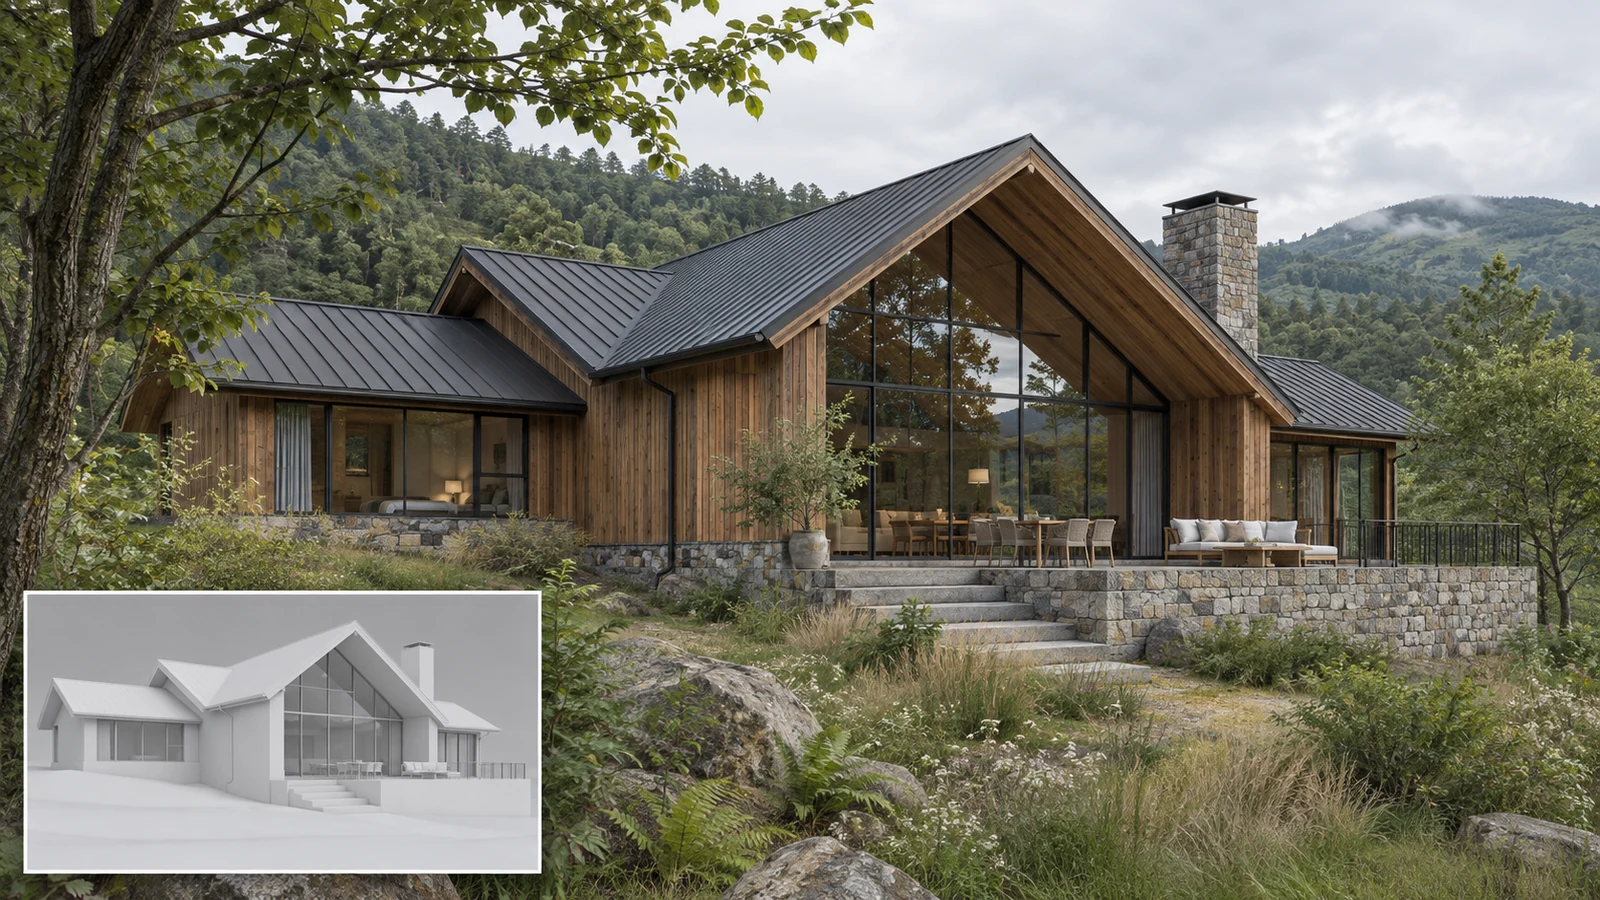
Textured SketchUp house model screenshot shown beside an AI architectural rendering that follows the same façade materials and building view.

Render a SketchUp Model While Keeping Its Materials

Transform a textured SketchUp model screenshot into a realistic architectural render. Enhance the appearance of existing wood, glass, and façade materials with natural reflections, detailed surfaces, and realistic daylight.

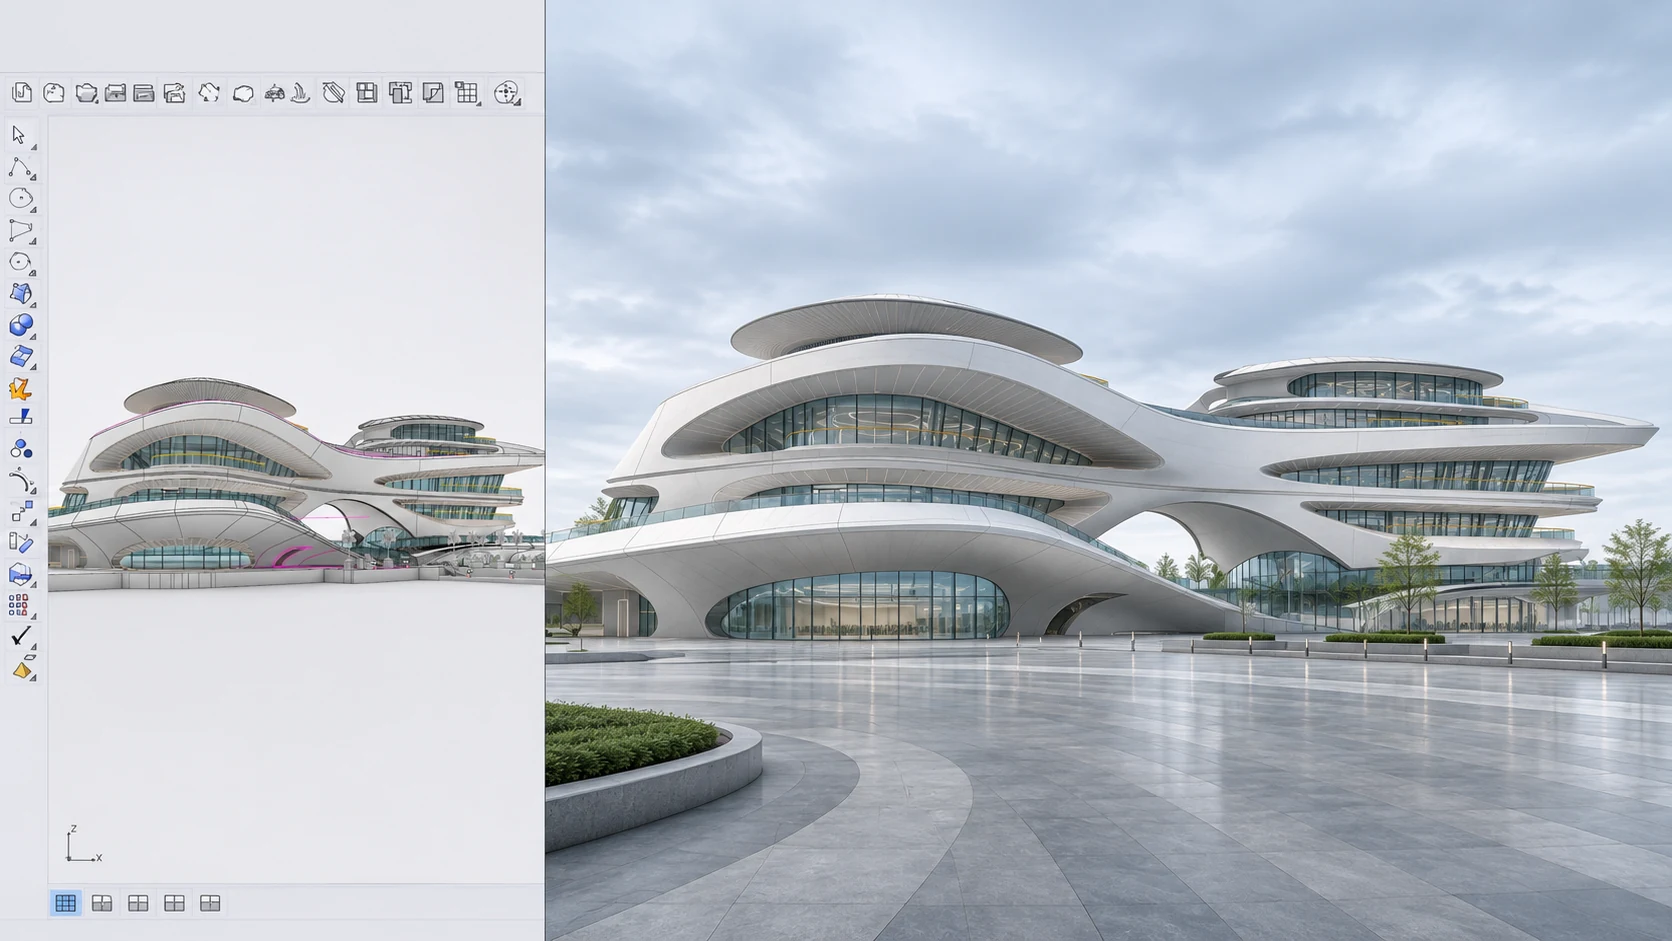
Rhino architectural concept model screenshot compared with a realistic rendering of the same building massing and camera perspective.

Develop a Rhino Architecture Concept into a Presentation Image

Turn a Rhino architectural model screenshot into a realistic visualization of a complex curved building. Enhance flowing roof forms, glass façades, and exterior materials while maintaining the original architectural concept.

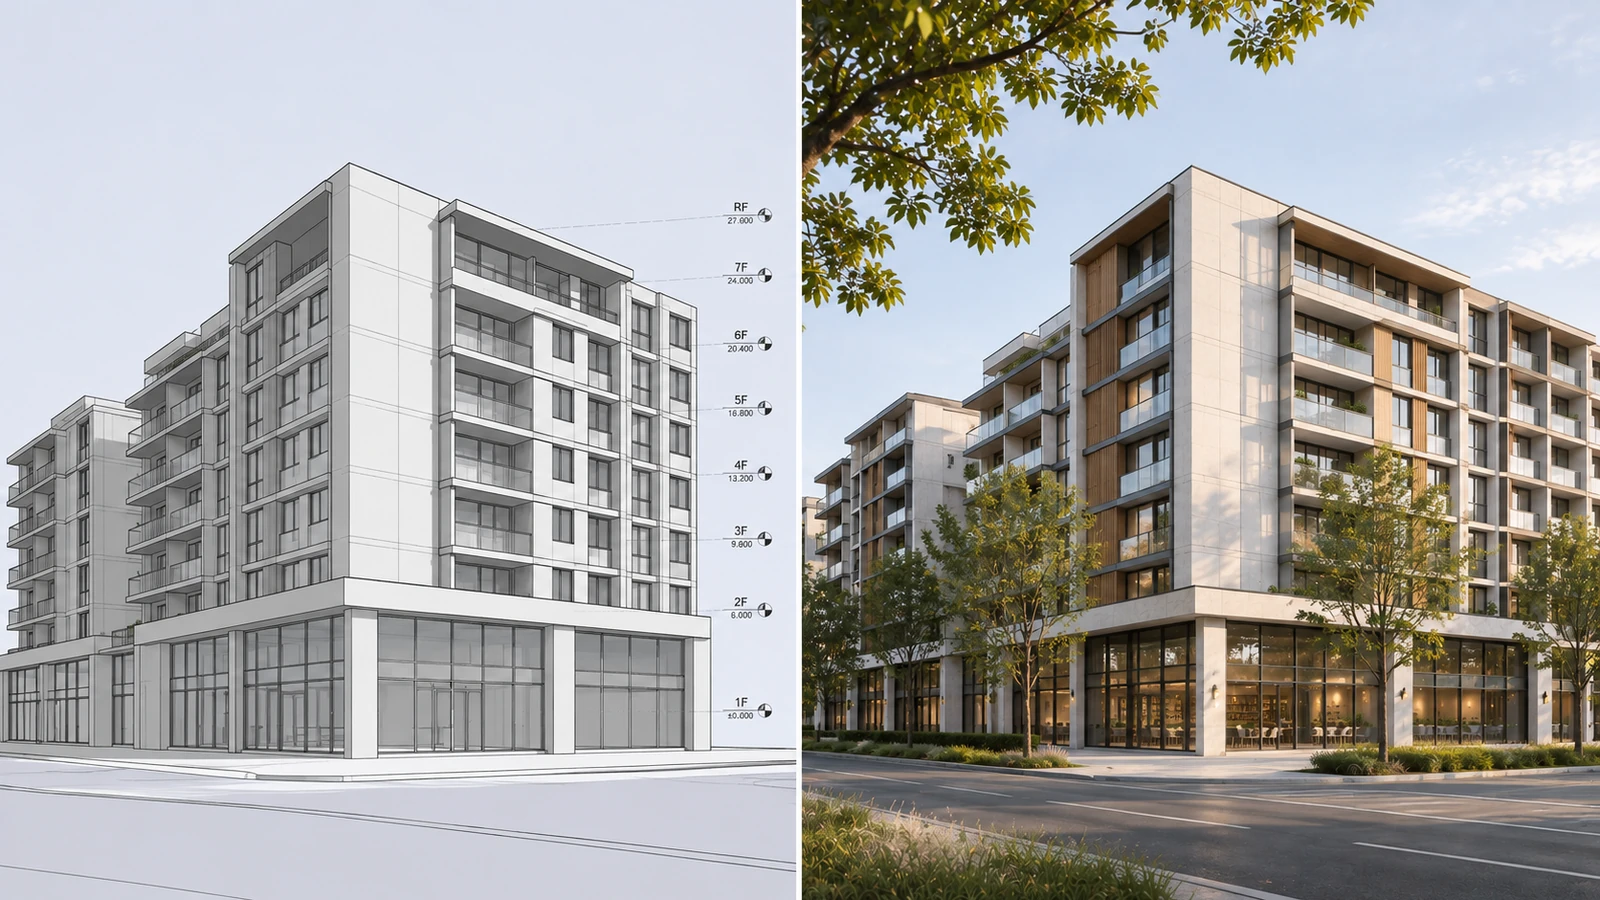
Revit architectural building view transformed into a realistic urban exterior rendering with street context, from a matching perspective.

Present a Revit Building View in an Urban Setting

Use an exported Revit perspective screenshot for AI architectural rendering in an Urban environment. Develop façade textures, paving, daylight, and adjacent street context while keeping the building design in focus. This is image-based Revit AI rendering, not a native Revit plugin.

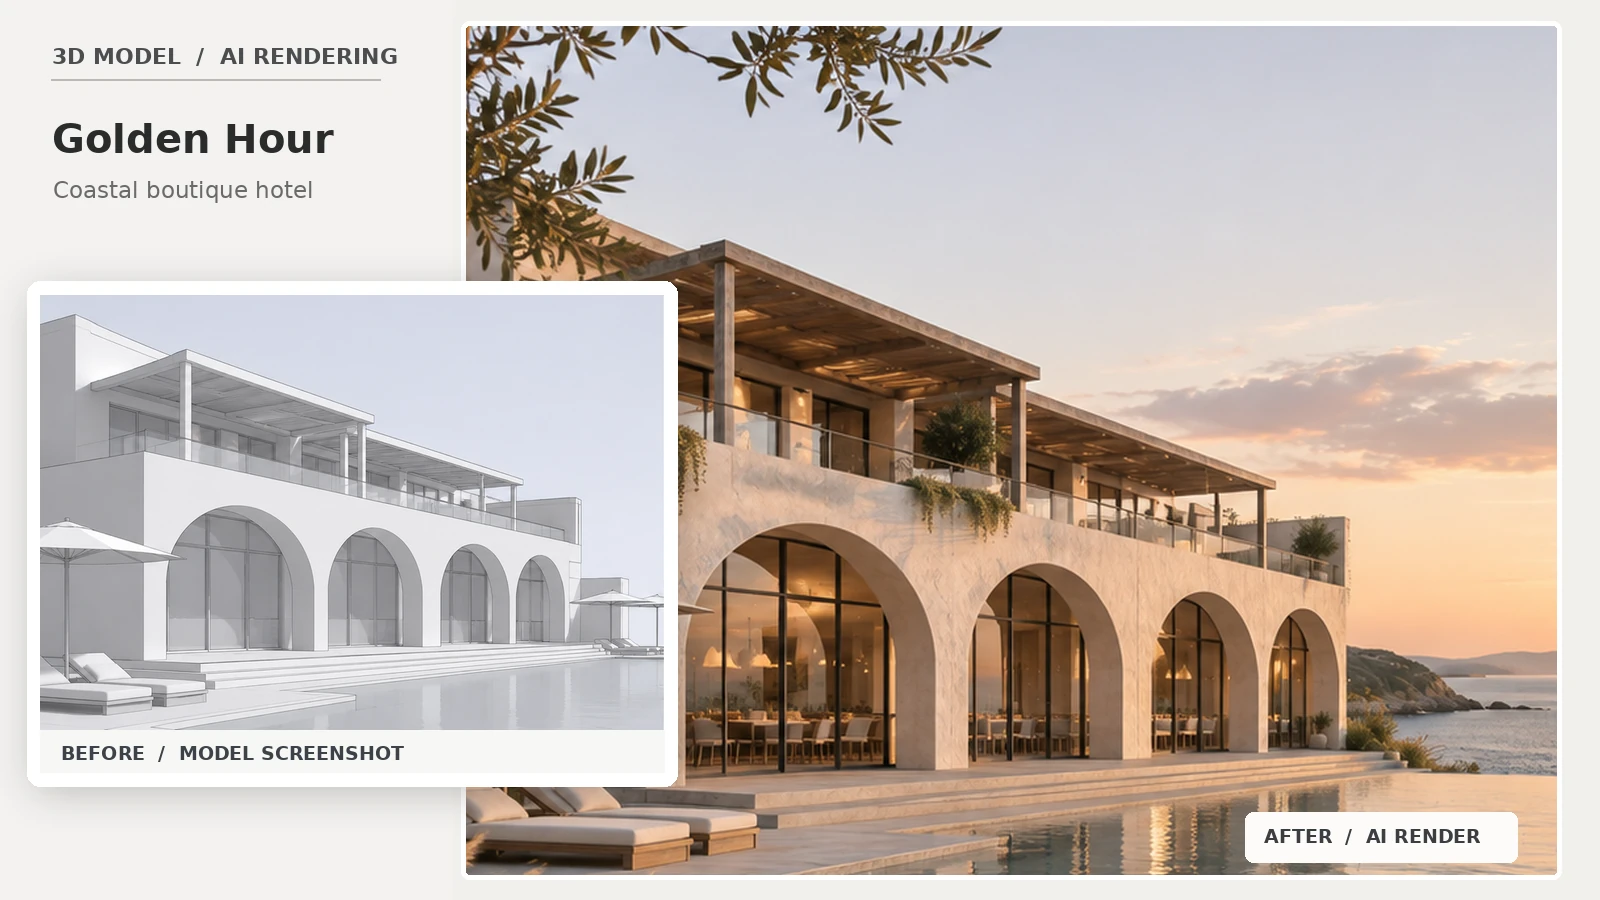
Architectural 3D model screenshot shown beside a golden-hour exterior rendering of the same building with warm sunlight and longer shadows.

Show a Building Concept in Golden-Hour Light

Use Golden Hour for AI exterior rendering with warm, low-angle sunlight, façade highlights, and longer shadows. Adjust Light Direction when you want the main illumination to enter from the left, right, or behind the camera-facing building.

Architectural model on a plain background compared with an AI render of the same building in a natural landscape setting.

Add a Natural Setting to an Architectural Model

Start with a building model screenshot against a plain background and select Natural to introduce trees, planting, and landscape context. Use Extra Details for specifics such as low planting, a gravel path, or fewer surrounding trees.

What Is AI 3D Architectural Rendering?

3D architectural rendering creates images that communicate a building’s form, materials, lighting, and setting. With this AI architectural rendering workflow, you start from a screenshot or exported view of an existing 3D building model rather than a 2D floor plan or an editable SketchUp, Rhino, or Revit file.

The uploaded image provides the visual foundation for the building massing, visible openings, façade layout, and camera angle. Design Fidelity controls how conservatively AI interprets that design. Material Setup lets you develop new materials or retain visible finishes; Lighting, Light Direction, Environment, and optional Extra Details shape the final presentation. The result is a rendered still image, which should be reviewed against the original model for design accuracy.

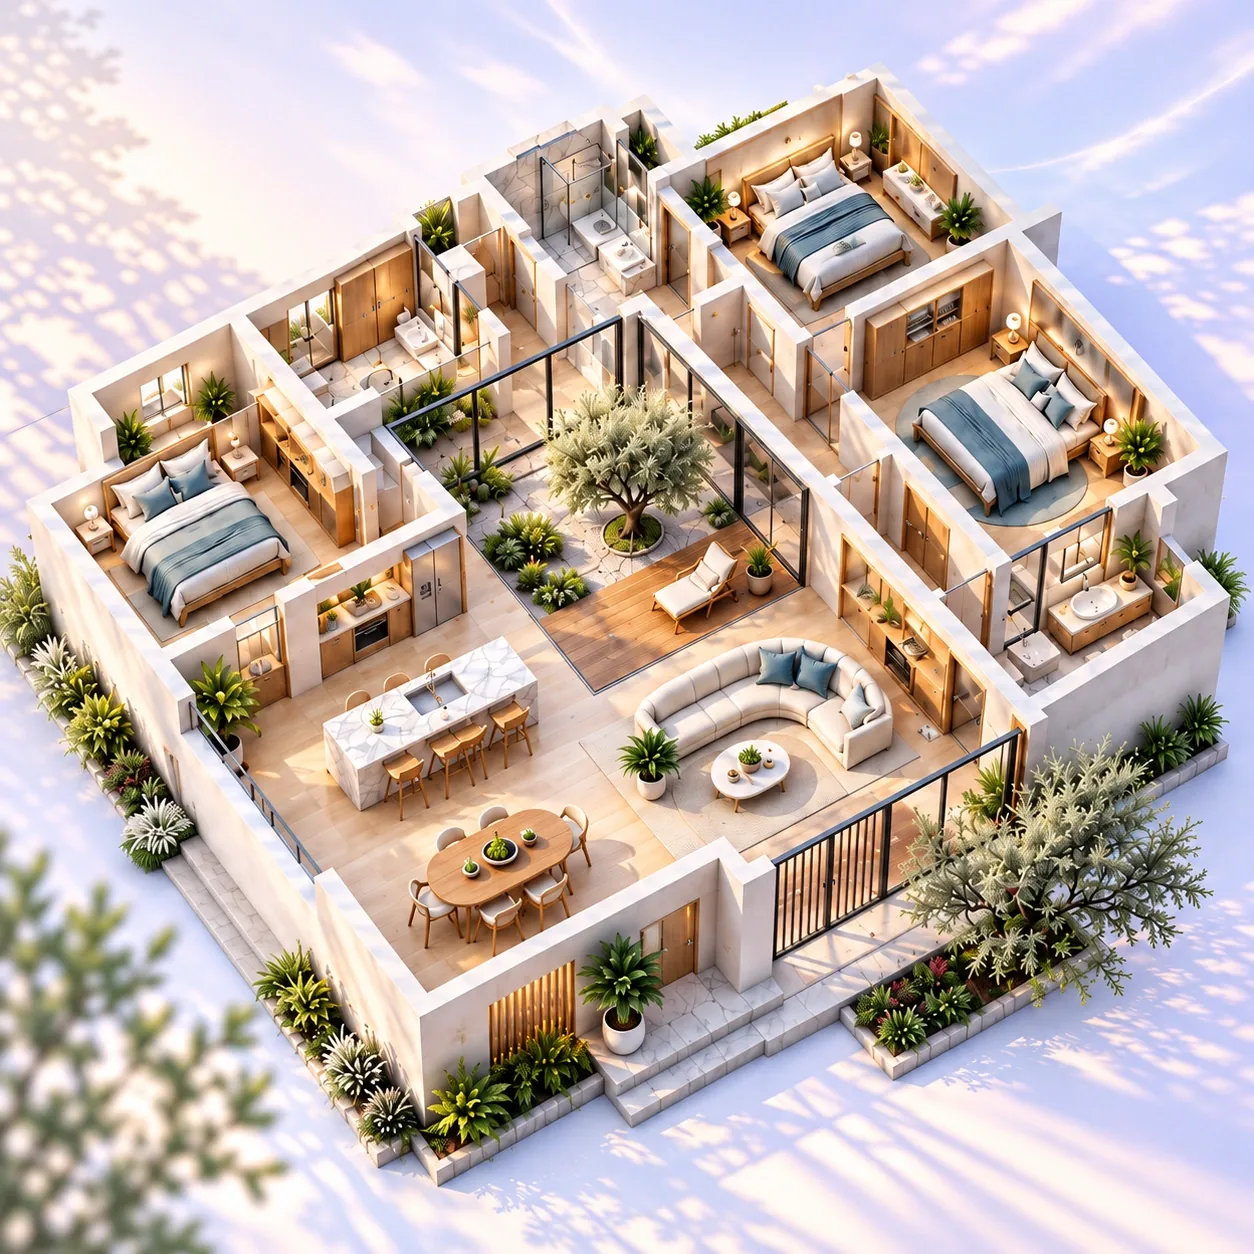
This is architectural rendering online from a model image, not a tool for generating editable 3D geometry or performing certified daylight studies. If you need to turn a 2D floor plan into a three-dimensional floor-plan visualization instead, use 3D Floor Plan Rendering.

The same architectural 3D model screenshot compared with a realistic AI-rendered building image, illustrating image-based architectural rendering rather than 3D model creation.
WHY CHOOSE OUR TOOL

Why Use AI to Render Your Architectural Models?

01

Start with the Design You Already Have

Upload an existing 3D model screenshot and start with available free credits instead of rebuilding your scene or describing the entire building from scratch.

02

Decide How Much AI Can Interpret

Select High Fidelity to minimize changes to the design, Balanced for modest refinements, or Creative for greater design exploration.

03

Render White Models and Textured Views

Use AI 3D rendering to develop white-model surfaces with Auto Materials, or choose Preserve Existing to maintain your model’s original visible finishes while improving their realism.

04

Shape the Light and Surroundings

Control lighting mood, environmental context, and even whether the main light comes from the left, right, or behind the building in the uploaded view.

05

Communicate Material Intent in Plain Language

Describe specific façade finishes, window frames, roofing, or landscaping in Extra Details without needing to build a complex material library.

06

Check the Result Against Your Source

Review a before-and-after comparison to spot changes in openings, proportions, materials, or camera composition before sharing the image.

HOW IT WORKS

How to Render a 3D Architectural Model Online for Free

1

Upload a Model Screenshot

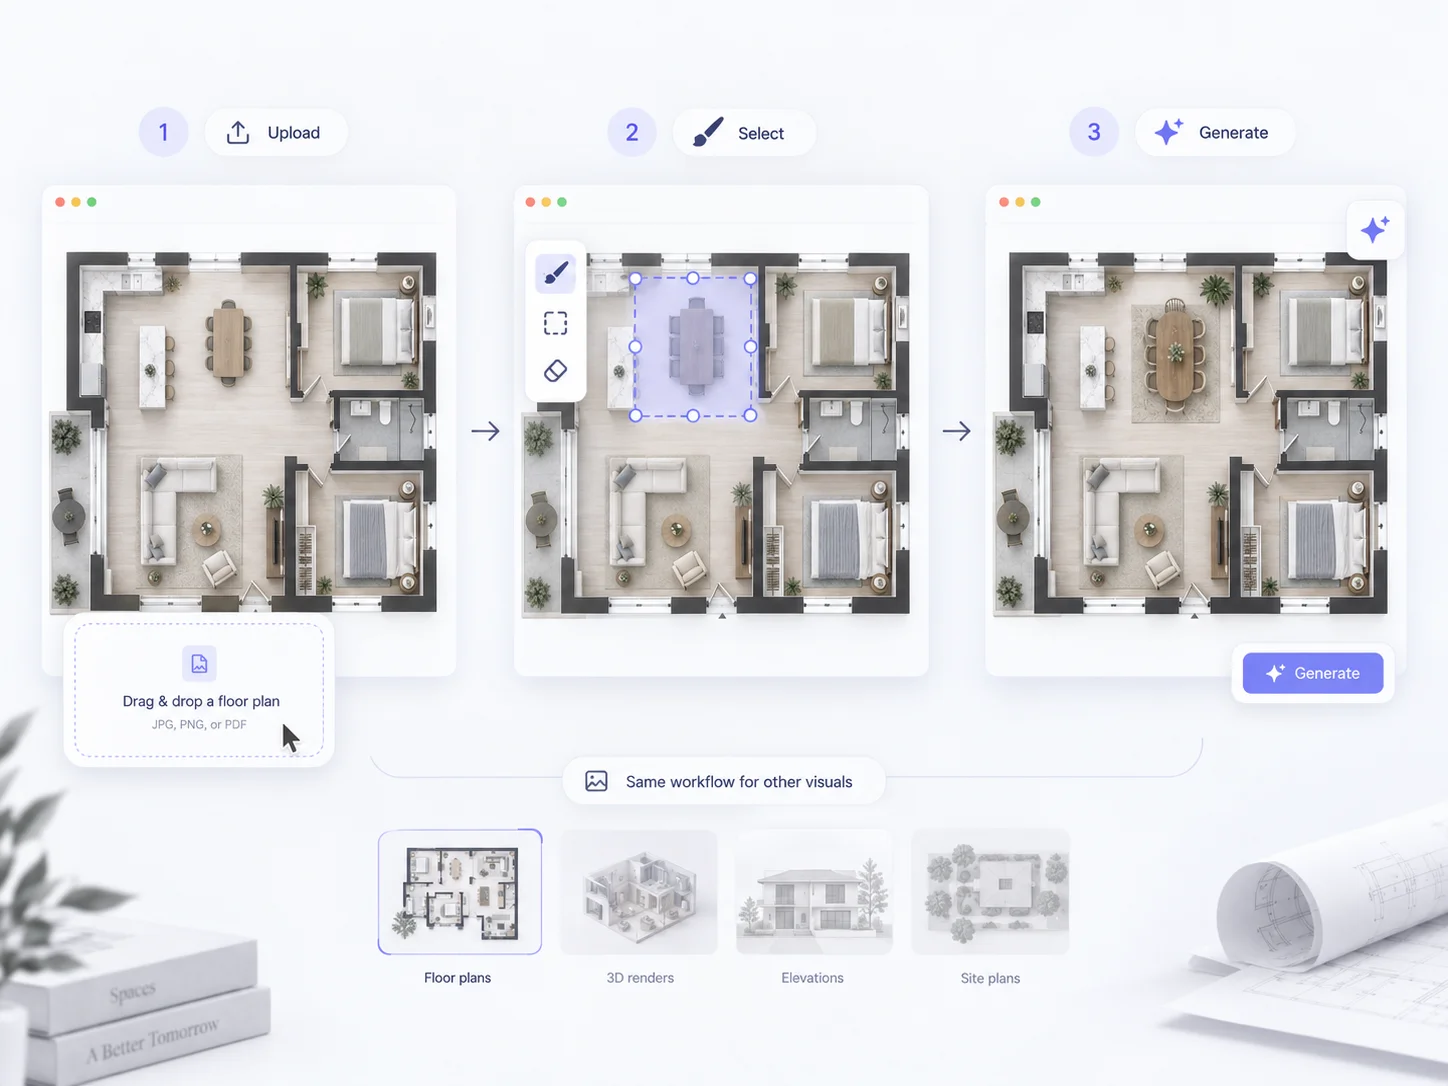
Capture a clear perspective of your building in SketchUp, Rhino, Revit, Blender, or another modeling program. Upload the screenshot or exported image to begin 3D model rendering online; native project files are not required or accepted.

2

Choose Rendering Preferences

Select High Fidelity, Balanced, or Creative. Then choose Auto Materials or Preserve Existing, set Lighting and Environment, and optionally change Light Direction. Describe specific façade finishes, roofing, or landscape features in Extra Details.

3

Generate and Compare

Use available free credits to click Generate and create your architectural render. Compare the result with the original screenshot, review design details, and adjust the settings for another variation.

RENDERING FEATURES

AI 3D Architectural Rendering Features

Design Fidelity Control

For image-based AI architecture rendering, set how closely AI follows your uploaded model. High Fidelity prioritizes preserving form and openings, Balanced allows subtle refinements, and Creative offers more interpretive freedom. This controls visual interpretation, not exact CAD geometry.

Material Treatment for Different Model Inputs

Auto Materials develops surface finishes for white or incomplete models. Preserve Existing retains visible cladding, glazing, finishes, and colors as the basis for more realistic material rendering.

Architectural Lighting Presets

Choose Daylight, Golden Hour, Overcast, or Dusk to control the architectural rendering’s illumination, contrast, shadows, and presentation mood.

Optional Light Direction

Choose Auto, Left, Right, or Backlighting to adjust the apparent main light direction and shadow emphasis relative to the image. This does not calculate a geographic sun position.

Environmental Context Presets

Select Auto, Minimal, Urban, Natural, or Residential to control scene context—from a clean architectural backdrop to streets, trees, and neighboring buildings.

Custom Rendering Instructions

Use Extra Details to define façade materials, window-frame colors, roof finishes, vegetation, and other project-specific architectural rendering requirements without adding more controls.

Model-to-Render Comparison

Review the source screenshot next to the rendered image to assess the visual transformation and identify differences that need checking.

FREQUENTLY ASKED QUESTIONS

Frequently Asked Questions

Common questions about rendering architectural 3D model screenshots with AI.

AI architectural rendering transforms a screenshot of an existing 3D building model into a realistic still image with materials, lighting, and environment details. It does not create an editable 3D model.

Try 3D Architectural Rendering for Free

Already have a SketchUp, Rhino, Revit, or other 3D building model? Upload a screenshot and turn it into a realistic architectural image. Start with available free credits, then adjust design fidelity, materials, lighting, and surroundings to fit your presentation.

Free to TryModel Screenshot InputBefore & After Preview
Upload Your Model Screenshot